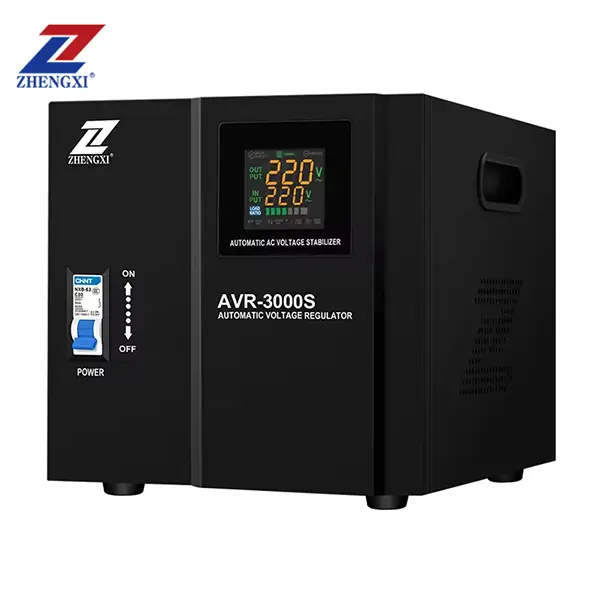
Ensuring your air conditioner (AC) operates smoothly and safely often starts with protecting it from voltage fluctuations. A voltage stabilizer serves as a frontline defense, regulating incoming power to a steady level. In this guide, you’ll learn how to connect a voltage stabilizer to your AC unit correctly, with clear steps, a visual aid, and expert tips to keep your cooling system running reliably.
Why Install a Voltage Stabilizer for Your AC?
- Protects compressor life: Stable voltage prevents motor windings from overheating or drawing excessive current.
- Improves cooling performance: Consistent power means the AC can reach set temperatures more effectively.
- Reduces repair costs: By guarding against surges, sags, and spikes, you avoid premature component failures.
- Suitable for areas with unstable grids: In regions with frequent power dips or surges, stabilizers are essential.
Step-by-Step Installation Process
Follow these steps carefully. If you’re not comfortable with electrical work, always consult a licensed electrician.
1. Choose the Right Stabilizer Capacity
- Match KVA rating: Select a stabilizer rated at least 25–30% above your AC’s power consumption (e.g., a 2 KVA stabilizer for a 1.5 HP AC).
- Check input voltage range: Ensure the stabilizer supports your local mains voltage (e.g., 180–260 VAC).
2. Gather Tools and Materials
- Voltage stabilizer unit
- Insulated screwdriver set
- Wire strippers and cutters
- Suitable gauge copper wires (as per stabilizer manual)
- Earthing rod and clamp (if separate grounding isn’t present)
3. Power Off and Isolate Supply
- Turn off the AC and isolate the main power supply at the breaker.
- Confirm zero voltage using a multimeter.
4. Mount the Stabilizer
- Position the stabilizer on a sturdy wall near the AC unit or power source.
- Leave at least 15 cm of clearance for ventilation.
5. Wire the Input Side
- Live (L) input: Connect the incoming live wire from the mains to the stabilizer’s “Input L” terminal.
- Neutral (N) input: Connect the incoming neutral wire to the “Input N” terminal.
6. Wire the Output Side
- Live (L) output: Run a wire from “Output L” on the stabilizer to the AC unit’s live terminal.
- Neutral (N) output: Connect “Output N” to the AC’s neutral input.
7. Ensure Proper Earthing
- Attach the stabilizer’s earth terminal to a reliable grounding point.
- If no ground rod is present, install one and clamp your earth conductor securely.
8. Test and Commission
- Restore mains power and switch on the stabilizer.
- Check the display (if available) for stable output voltage.
- Turn on the AC and observe normal startup without unusual sounds or delays.
Common Questions (FAQ)
Q1: Can I install the stabilizer myself, or should I hire a professional?
A: While the steps above are clear, working with mains electricity carries risks. If you lack electrical experience, hiring a licensed electrician ensures safe and code-compliant installation.
Q2: How do I choose the correct KVA rating for my AC stabilizer?
A: Check your AC’s power consumption (in amps or watts) on the nameplate. Multiply by 1.3 (30% buffer) and convert to KVA:KVA = (Watts × 1.3) ÷ 1000. Always round up to the next standard stabilizer size.
Q3: What maintenance does a voltage stabilizer require?
A: Periodically clean dust from vents, verify tightness of connections, and test output voltage stability every 6–12 months. Replace any worn wiring or faulty components promptly.
Q4: Will a stabilizer work during complete power outages?
A: No—voltage stabilizers regulate existing mains power. For outages, consider pairing with an inverter or generator backup system.
By following this step-by-step guide to connect a voltage stabilizer to your AC, you’ll safeguard your air conditioner against voltage irregularities and extend its operational life. For more in-depth tutorials or to explore our range of best voltage stabilizers for split AC, visit our product pages or contact our support team.


